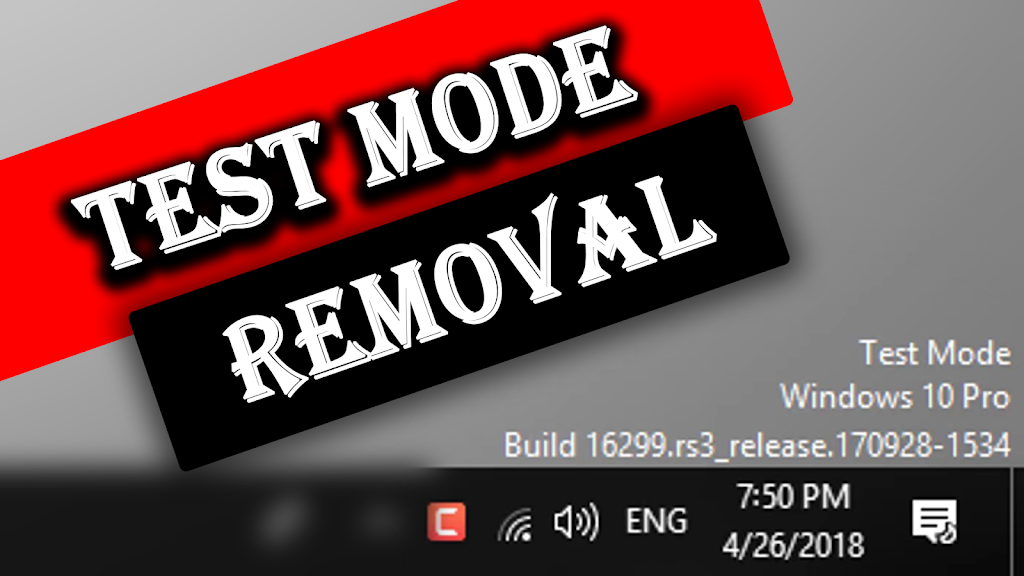
[Solved] How to Remove Test Mode Windows 10

Tap-and-hold or right-click Command Prompt in the search results. Select Run as administrator on the menu that appears at the bottom of the screen.
Note If you are prompted by a User Account Control window, tap or click Yes.
In the Command Prompt window, type the following command, and then press Enter:
bcdedit -set TESTSIGNING OFF
After you see the confirmation, close the Command Prompt window.
Save any unsaved work, and then restart the computer.
Windows 7
To fix this problem manually in Windows 7, try these methods, in the given order.
Method 1
Click Start, and then type cmd in the Search box.
Under Programs, right-click cmd.exe, and then click Run as administrator.
At the command prompt, type the following text, and then press Enter:
bcdedit /set TESTSIGNING OFF
Close the Command Prompt window, and then restart your computer.
Note If this method does not resolve the issue, go to Method 2.
Method 2
Click Start, and then type cmd in the Search box.
Under Programs, right-click cmd.exe, and then click Run as administrator.
At the command prompt, type the following commands, and press Enter after each command:
bcdedit.exe -set loadoptions ENABLE_INTEGRITY_CHECKS bcdedit.exe -set TESTSIGNING OFF
Close the Command Prompt window, and then restart your computer.
Thank You.